Pier 1 Imports Catalog Furniture Pier1ToGo Product Details - Fuzzy Teal Papasan Pad
I had been looking for a new cushion for my Papasan Chair and was pleasantly surprised to find a soft and "fuzzy" version--finally~!!! These chairs are fun, but lets face it, we have to be able to clean them easily too. I have found over the years that fuzzy, or nappy fabrics, like velours, velveteen, etc., hold up better to everyday use as far as dirt is concerned. Not only do they not show every little bit of schmutz and smudge, but are also easier to clean. Usually a moist white washcloth with a tiny bit of soap, or Spray-and-Wash, works like a charm.
Tuesday, February 14, 2012

Monday, February 13, 2012
Cabinet doors, part 2


Cabinet doors


HIGH GLOSS showed up in three different colors. Dark green where the HIGH GLOSS coat covered, light green in the pooled, and a medium green in the pooled areas. Last touch is putting on new knobs and "Voila," a pretty new face lift for old beat-up cabinet doors.


Friday, February 3, 2012
REPAINTING, REFINISHING, and RE-TILING


 Repainting, Refinishing, and re-tiling the sideboard is today's mission. Above and below are shots of the sideboard before the make over. My children and I made this mosaic out of cut up paint chip samples. The problem with those, however, is that they roll up and I did not anticipate this. I used construction paper before for similar project and that worked well.


Wednesday, February 1, 2012
Mirror Furniture

Also, I made a Walmart trip yesterday, because I ran out of Mirror tile, and I was surprised to find that the prize for a 6pack of 12x12 mirror tiles are only $ 8,54.- rather than $ 9.99.- which I had quoted you all yesterday.


Tuesday, January 31, 2012
Mirror Tile Mosaic

Mirror Tile Mosaic is not only for flowerpots and small
‘futsy’ (my term for small cutsie stuff) things, but can be used on walls,
furniture, and structures like posts, outside daybeds, and the facing of
steps/stairs. Mirror Tile is easy to get, easy to use, and inexpensive. You can
buy Mirror Tiles in any home improvement and hardware store, but I found that WALMART,
consistently, has the lowest prize, about $9.98. - The tiles can be used whole or, as in this case, cut into the desired size and shape with a glass cutter


 |
| Above: This is a puzzle, but you decide what shape and size the puzzle pieces are, and what the puzzle looks like ;) |


Enjoy being creative with your Mirror Tile Mosaic!
Monday, January 30, 2012
From BOLD & BEAUTYFUL to calm & serene
COLOR OVERLOAD
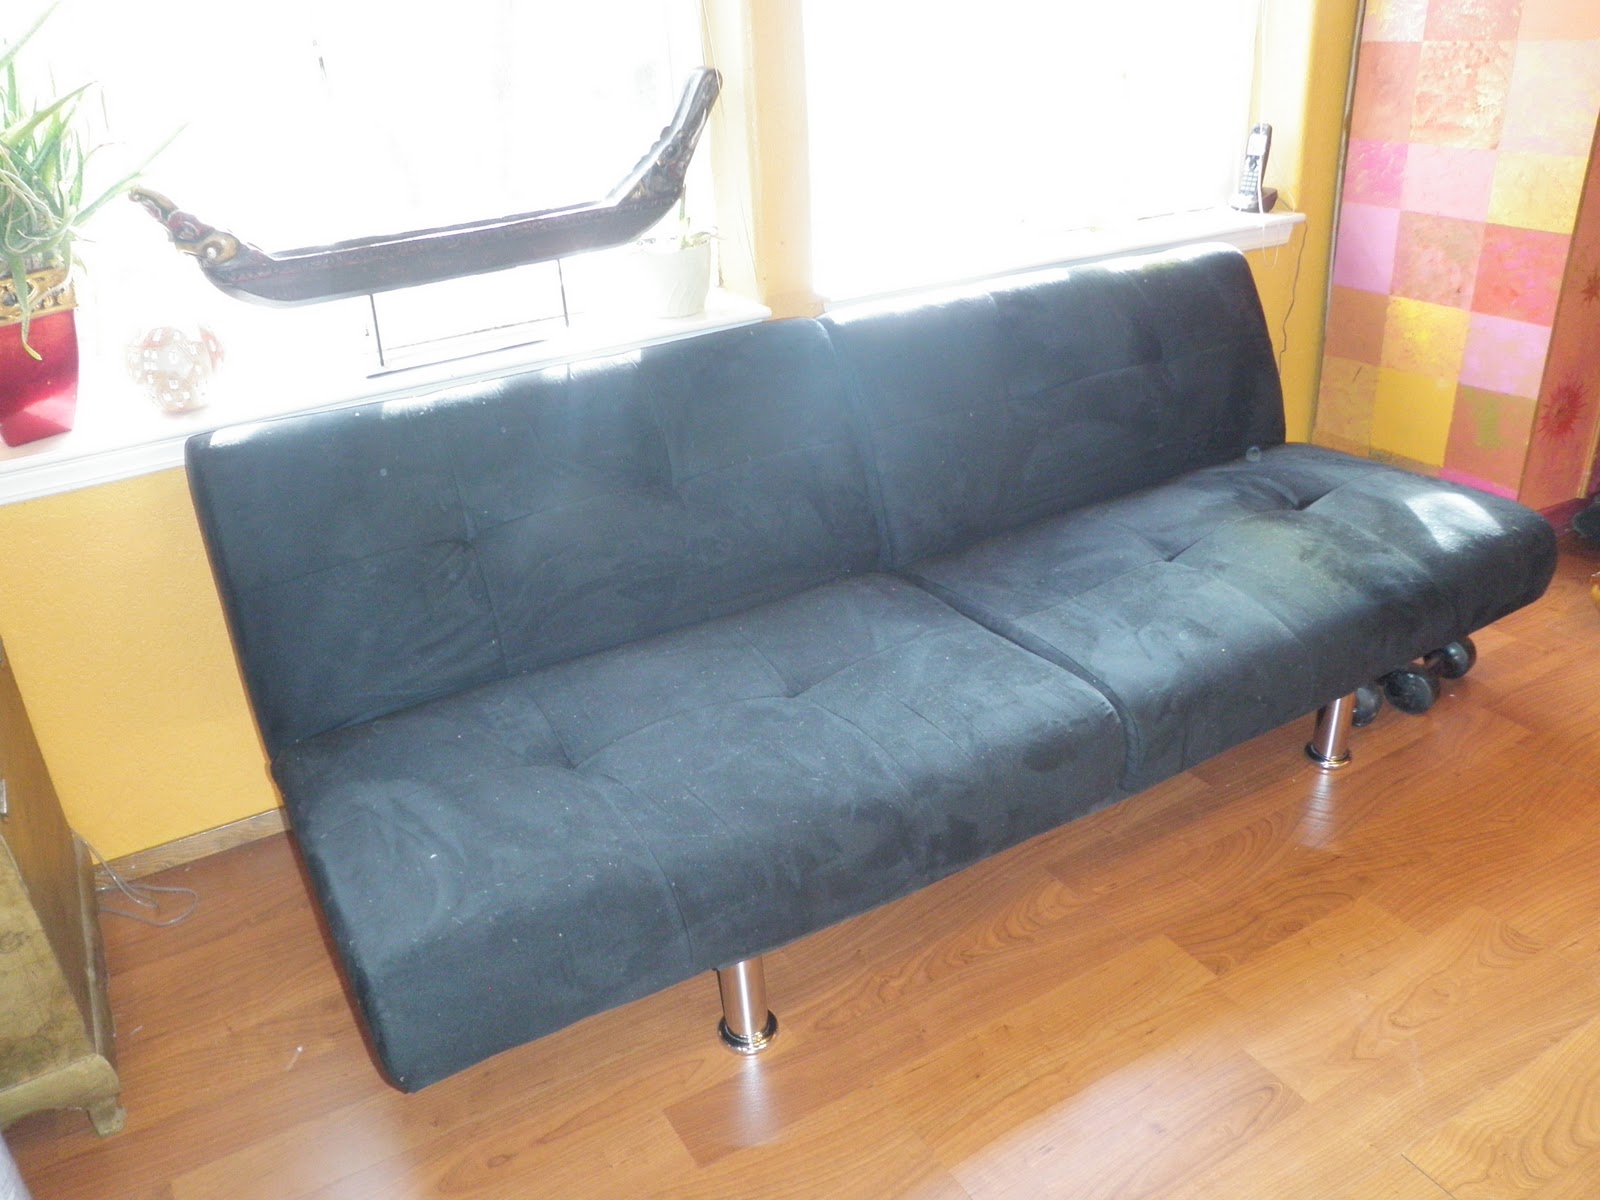
As I have proclaimed before, I love color, but after 10 years of bright orange, red, fushia, gold and sunflower yellow, I am ready for a change. I want to lighten, brighten, and De-clutter. I started by moving our HUGE couch into the family/kids/work-out-room and moved the futon from there to the living room. I must say, after only one evening of sitting on this thing, I am determined to find a more comfortable seating solution as soon as I can afford it. Until then, this will have to do. Here are some "Before" shots.
 This colorful large couch was in my living room, but it goes well with the existing color scheme of the "Play room!"

 Here is the less than comfortable futon, now in my living room. As you can see, there is a lot of space left on both sides, which is the space the big colorful couch filled before.
 Here are my hanging oriental lanterns, which I still love, but will find other homes for them in my bed room and in my garden, possibly also in my bathrooms. This is a good idea not only because it is pretty, but it comes in handy when the electricity goes out, which happens from time to time here.
 More on my living room make-over tomorrow, until then--choose JOY!
As I have proclaimed before, I love color, but after 10 years of bright orange, red, fushia, gold and sunflower yellow, I am ready for a change. I want to lighten, brighten, and De-clutter. I started by moving our HUGE couch into the family/kids/work-out-room and moved the futon from there to the living room. I must say, after only one evening of sitting on this thing, I am determined to find a more comfortable seating solution as soon as I can afford it. Until then, this will have to do. Here are some "Before" shots.



Subscribe to:
Posts (Atom)